
Do you want to search in all categories or in this category ?

Thanks to the home screen cards, all communication with your customers is facilitated and centralized. They will now be able to message your team, search for documentation articles, book meetings with just a few clicks, or call you directly from the chatbox! 🚀
📚 If you want to know more about the characteristics of the home screen, please consult the documentation article on this subject: Introducing the Chatbox Home screen!
📚 If you want to know more about the management of home screen texts and translations, please consult the documentation article on this subject:
The Team inbox card
The Knowledge Base card
The Meetings card
The Newsletter card
The Phone card
You have the freedom to customize these cards if you wish, or create new cards from scratch! So you are totally free to make this home screen your own and build something that really looks like you!
You can directly customize a default card by clicking on the wrench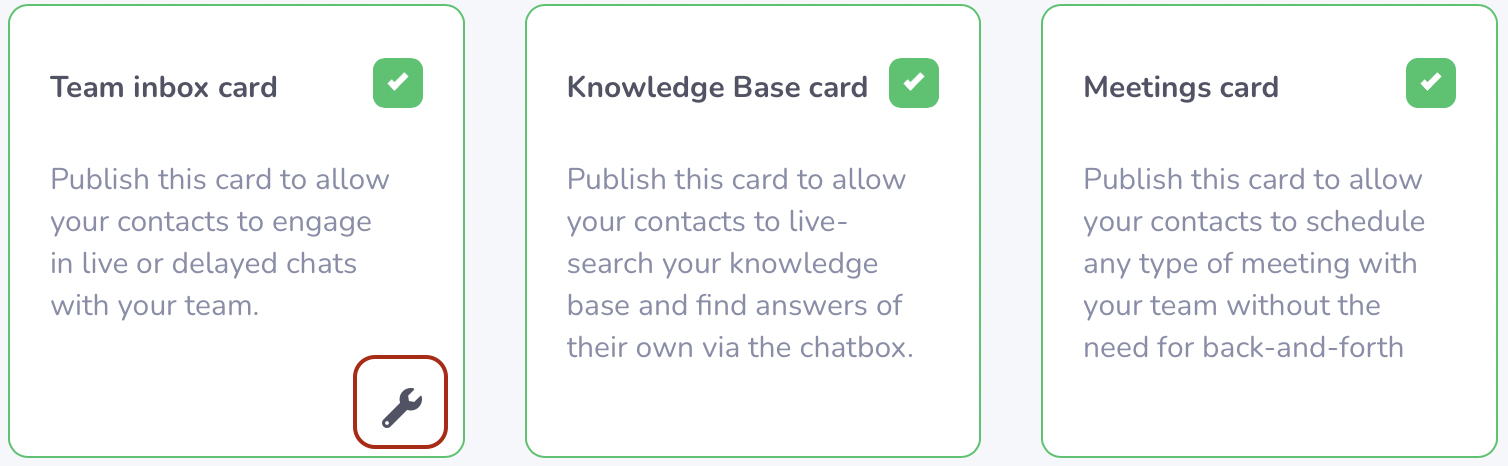
You will then see the card personalization window appear.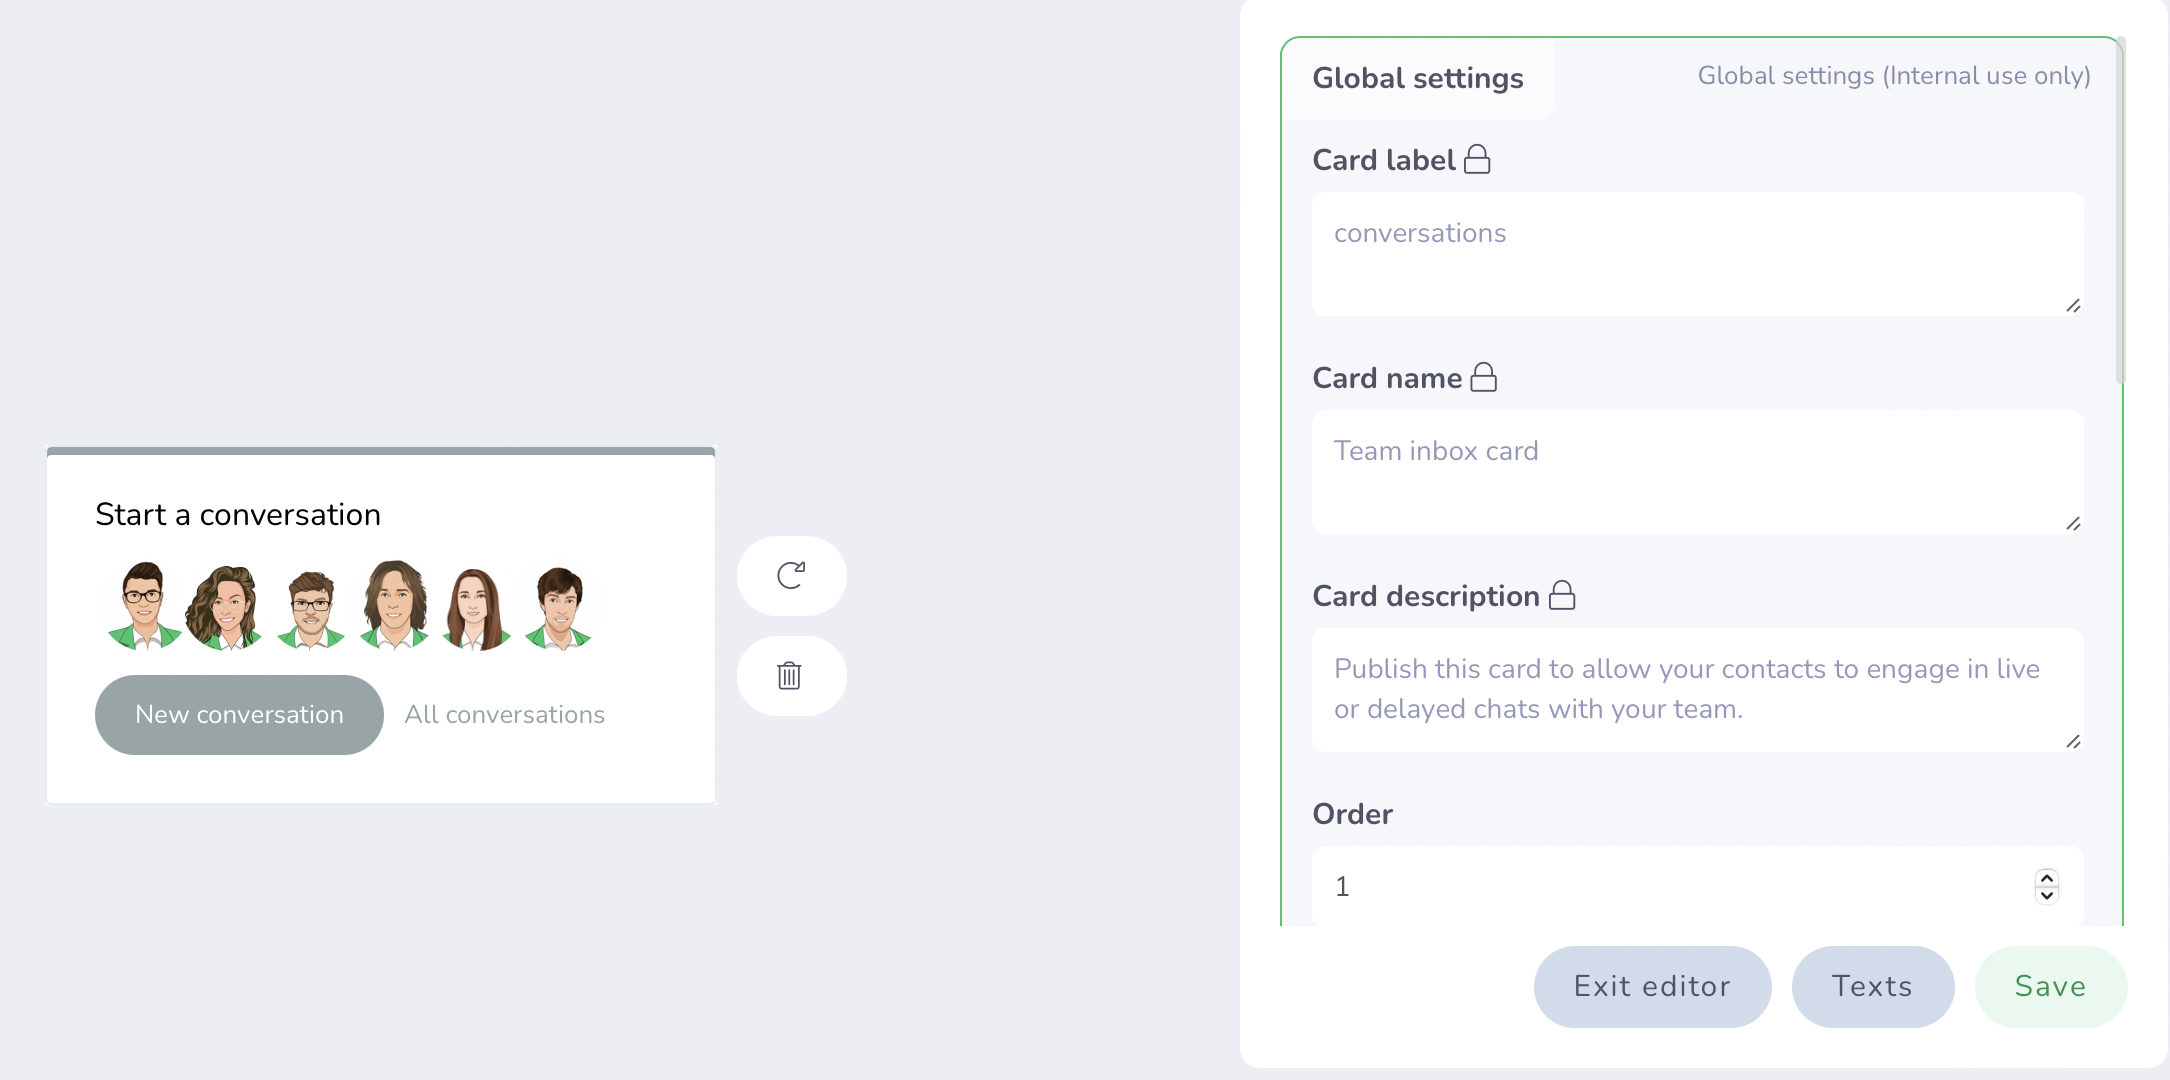
Certain characteristics such as the name of the card or its description cannot be modified, but you can choose who to display this card to, or even modify certain blocks (slots) of the card: for example, change texts, buttons, etc. .
To help you find your way around slot management, a small green insert allows you to make the link between the block and its position on the card.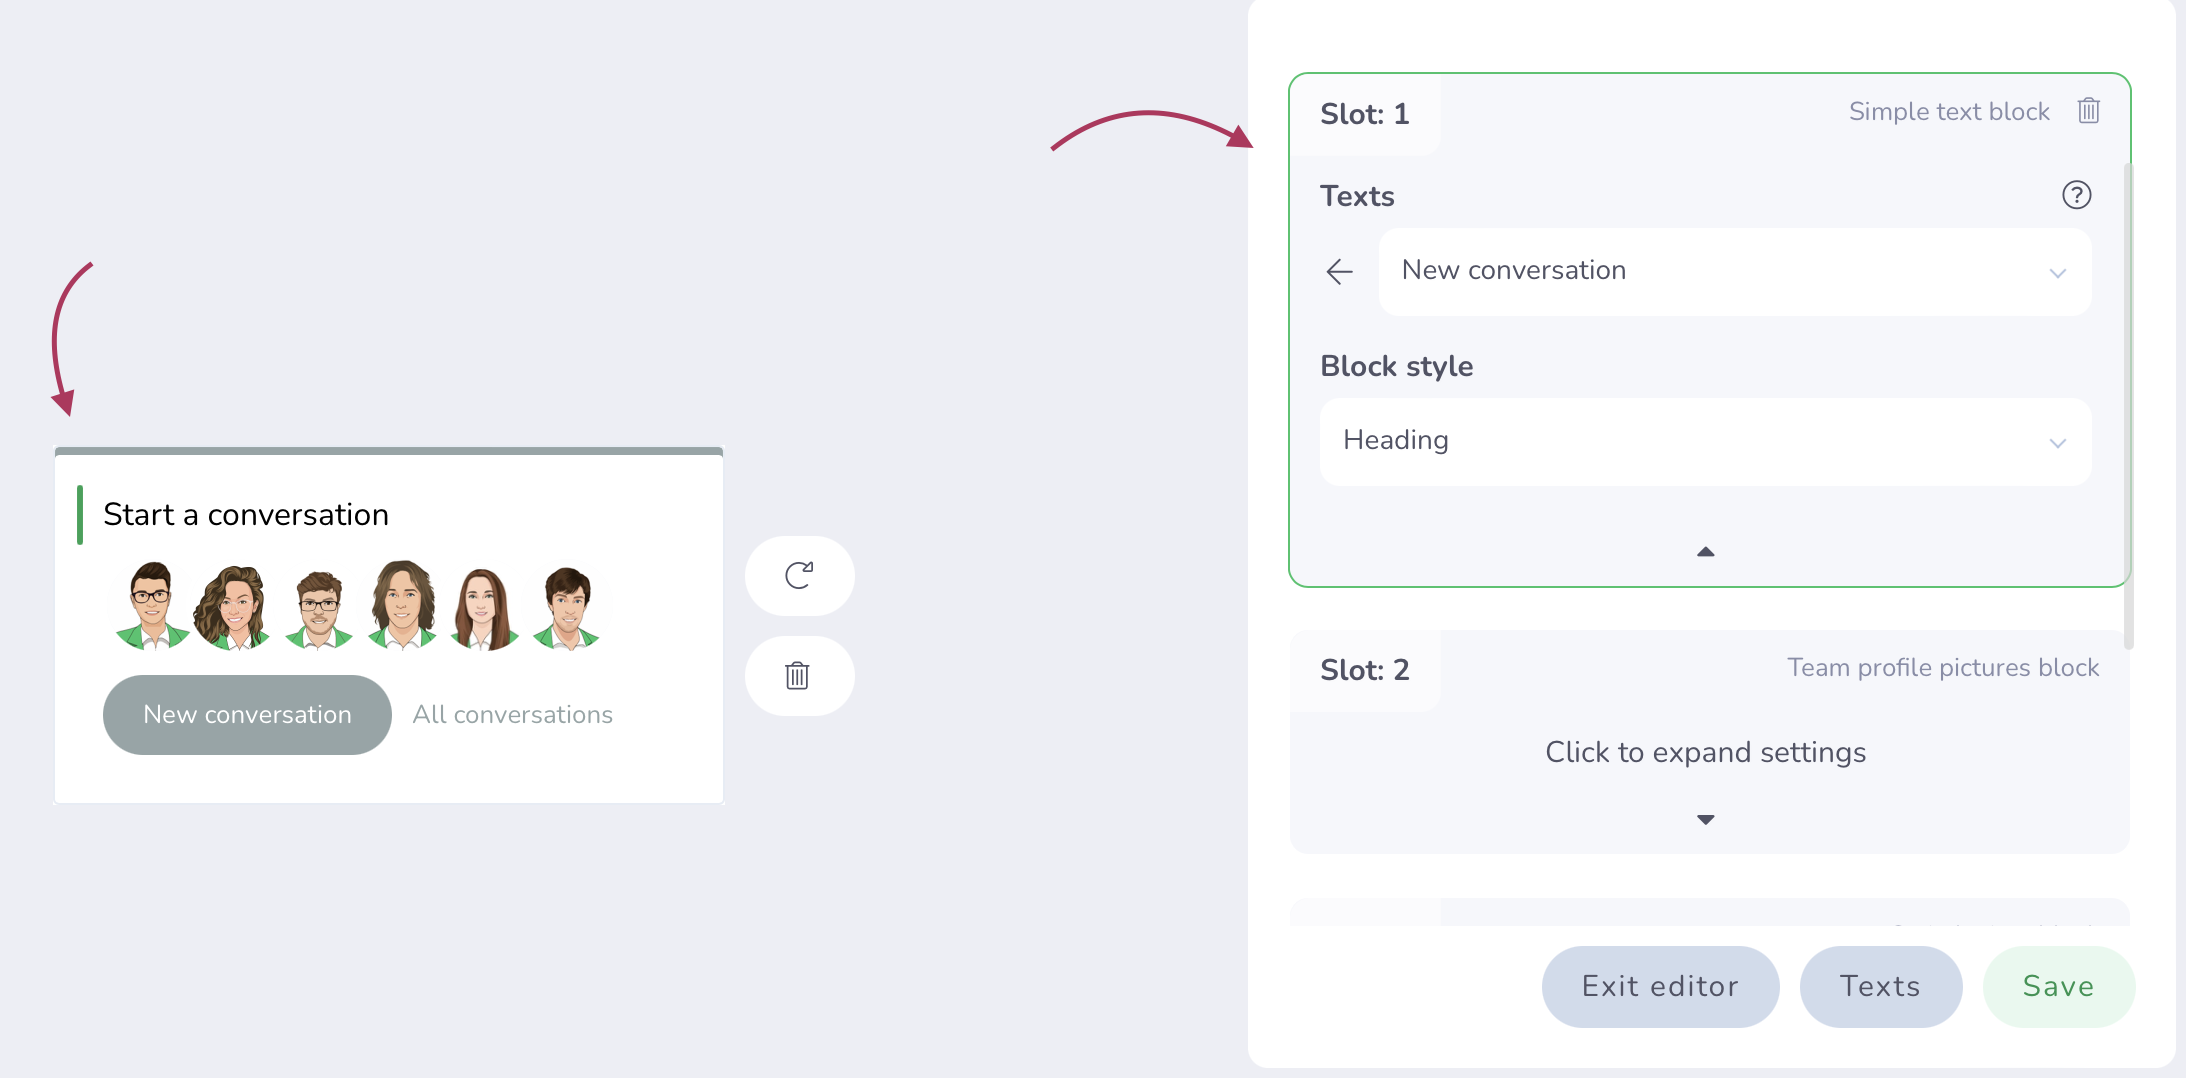
If you wish, you have the option of emptying the template and completely remodeling it to your liking! That is to say, choose which block contents you want to display.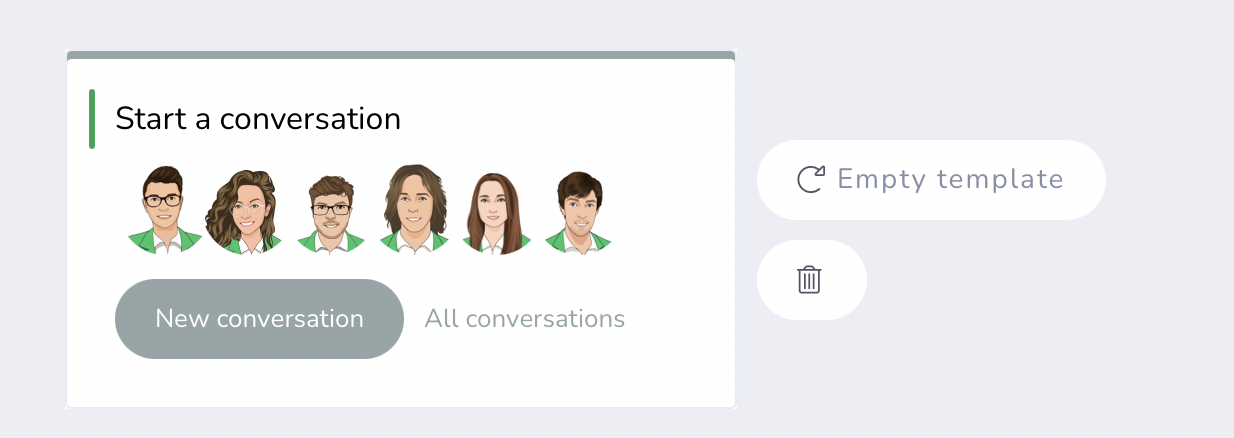
You also have the option to reset the model to select a new card architecture!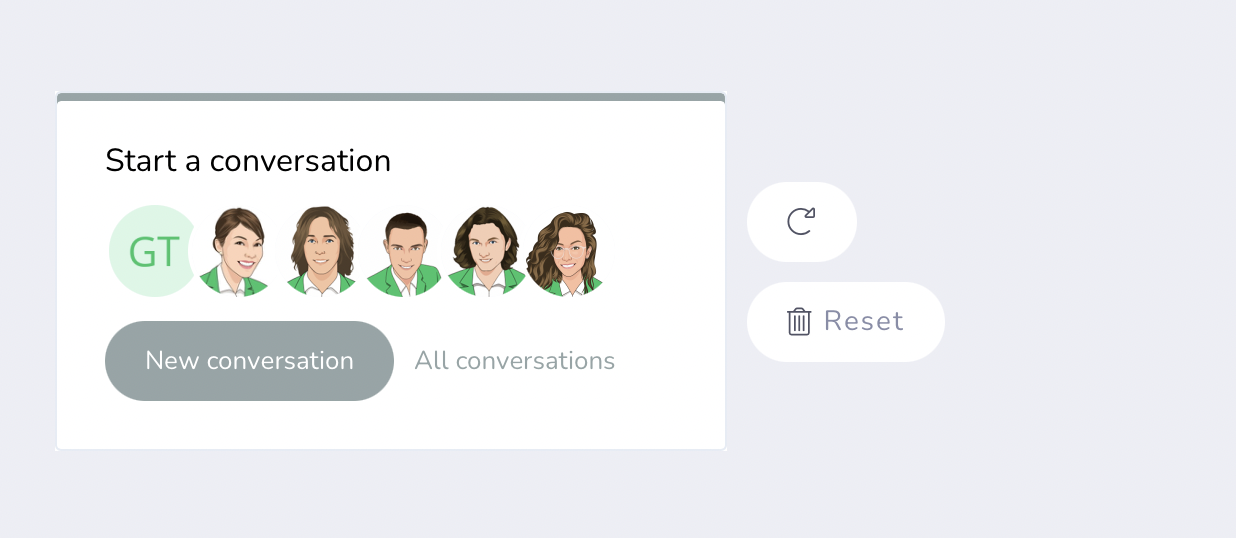
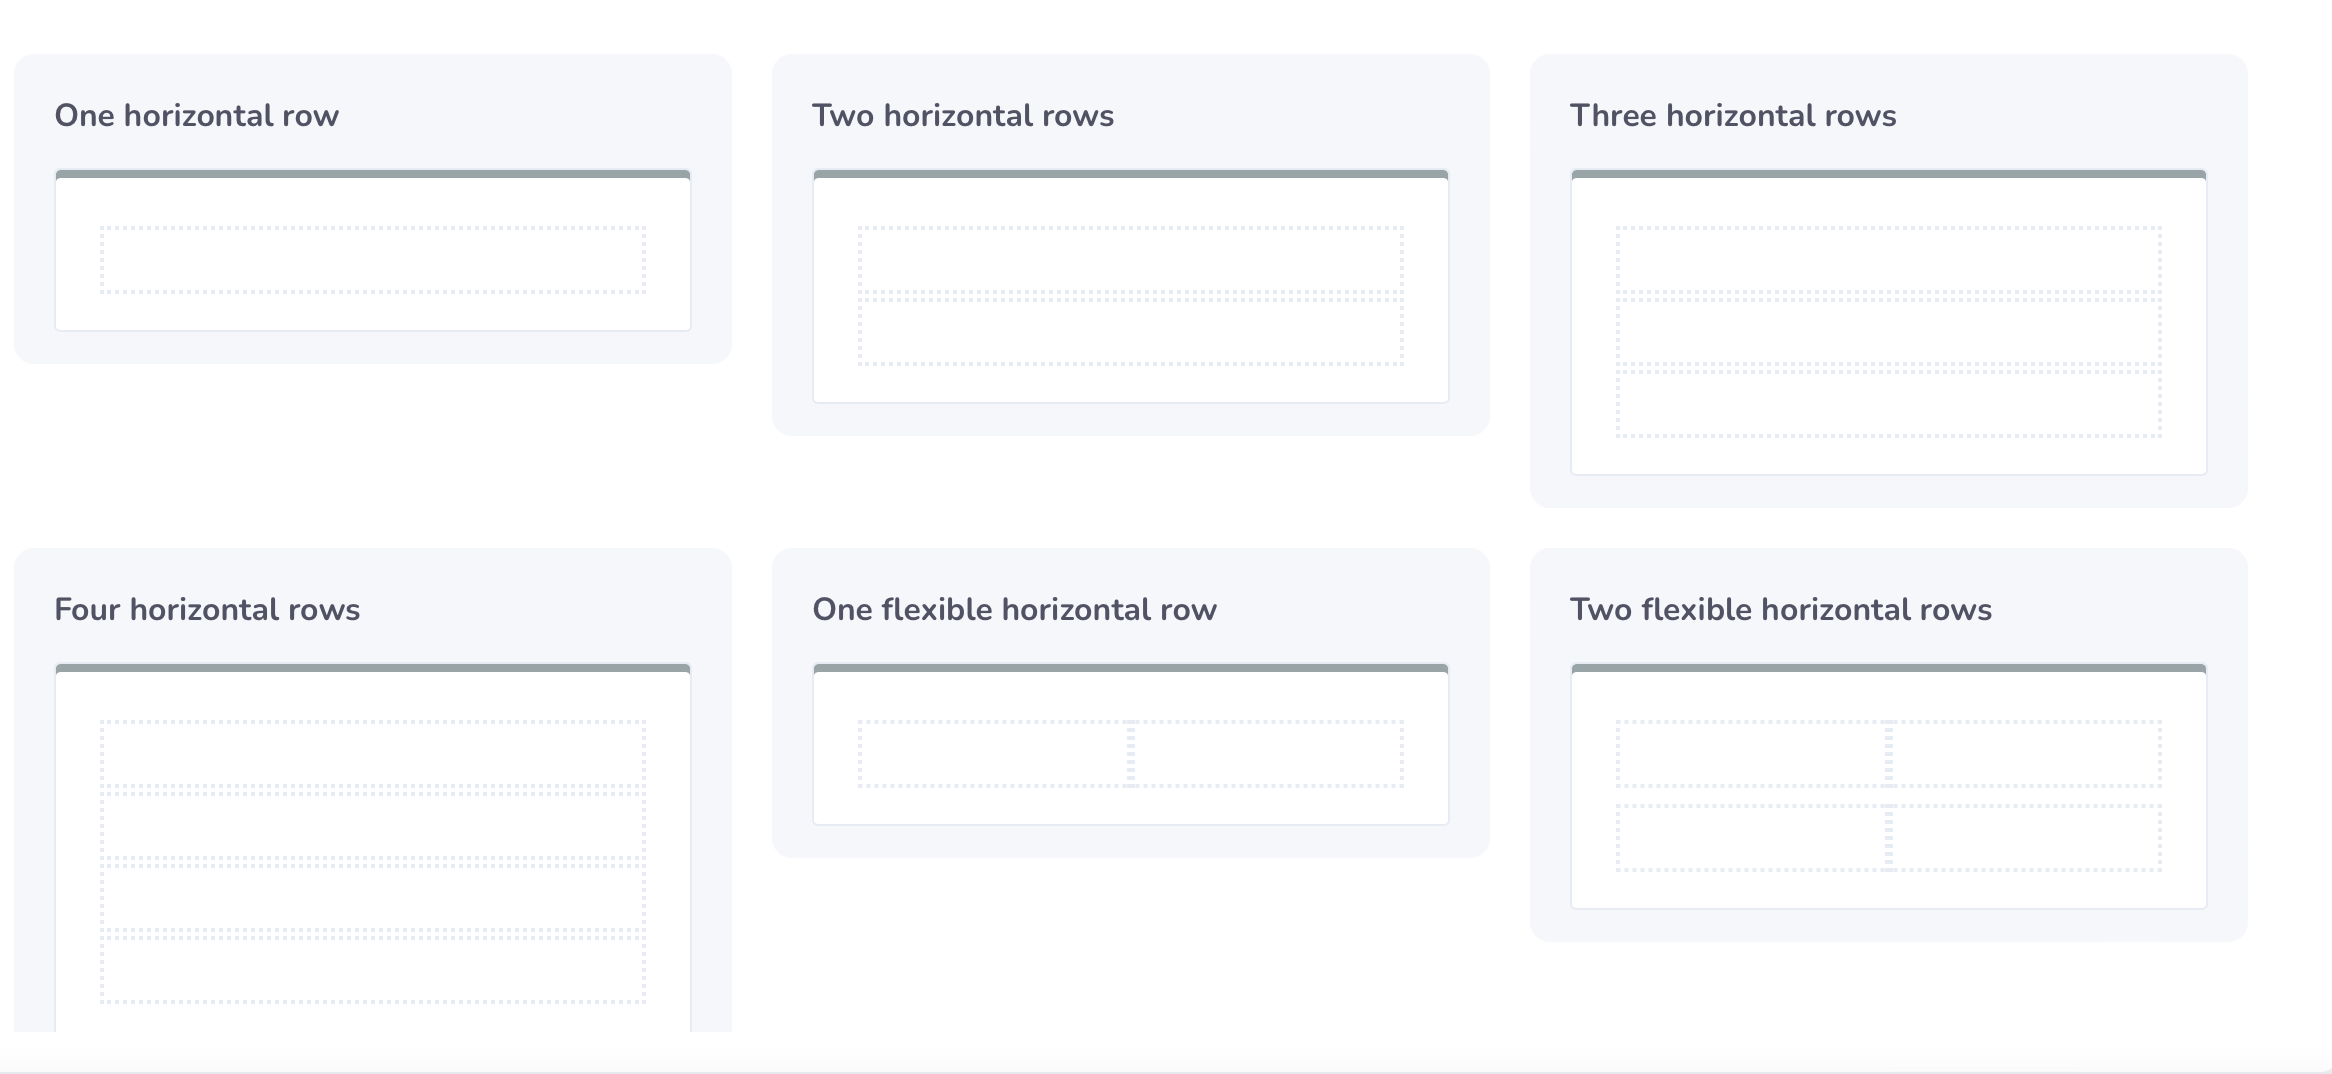
You have the choice between 9 card templates:
Once the template is selected, you can, as presented previously, choose the block contents you want to display. 😊
It is therefore very simple to make the cards on the home screen your own! But if you want to go further, you always have the option of creating a custom card! 🔧
To create a new custom card, simply select the tab provided for this purpose.
You must then choose a card model from the 9 templates.
Once you have made your choice, you must enter the general parameters of the card (its name, description, display preferences, etc.)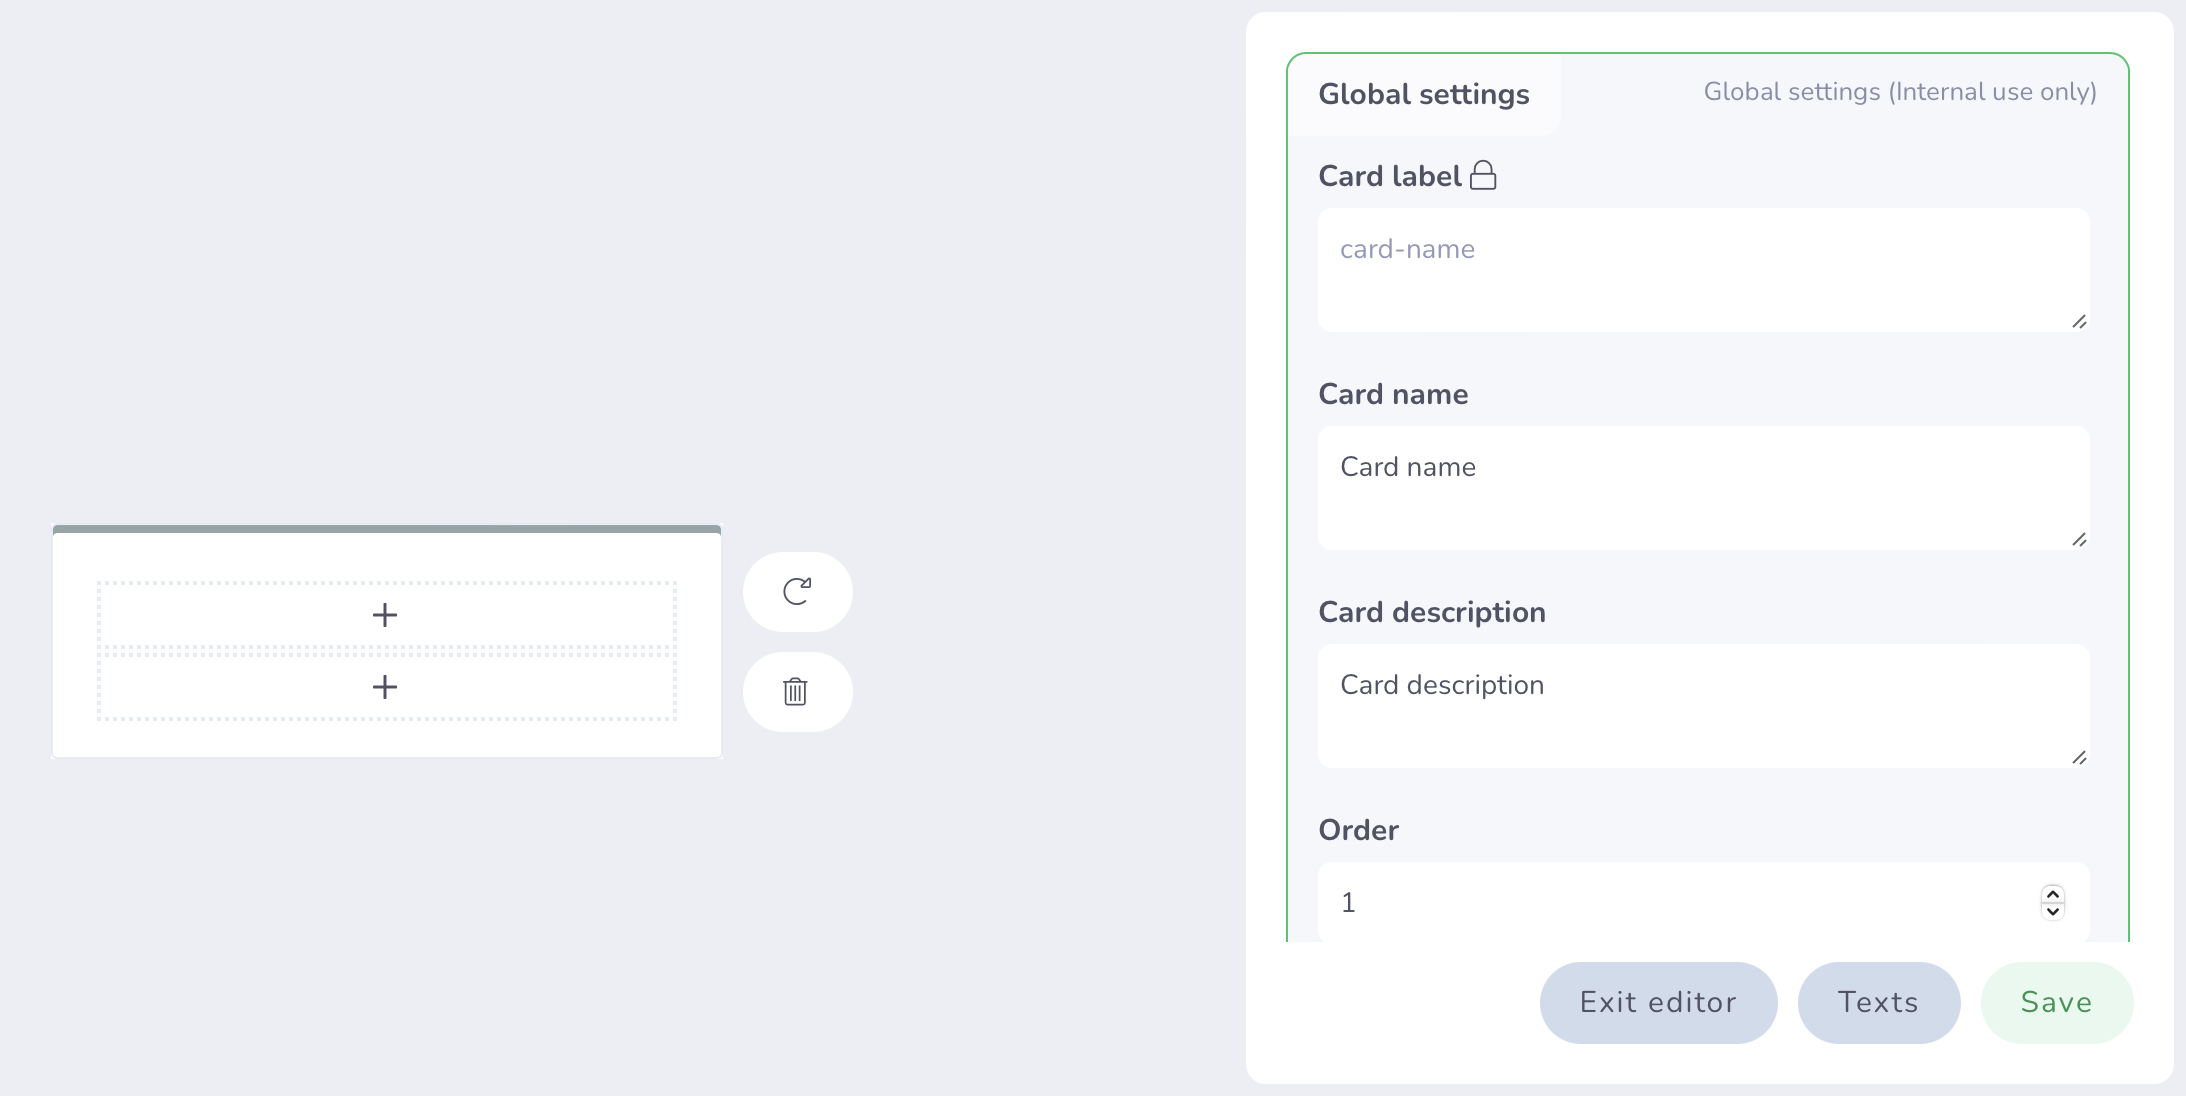
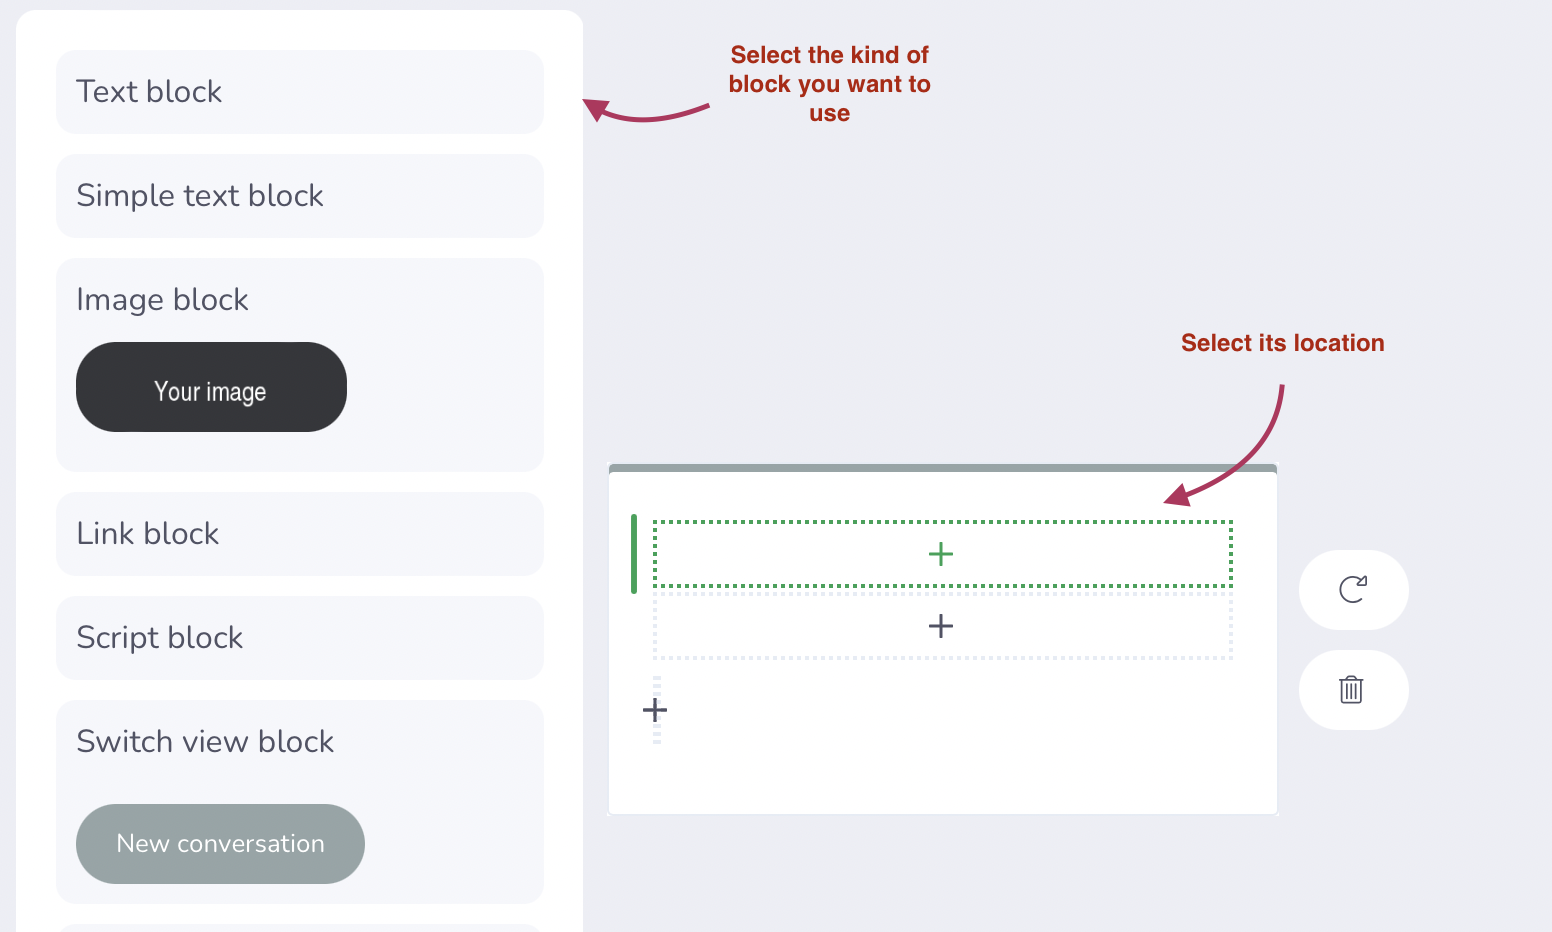
You can then select a location on your card and set a block style for it.
Once the style of the block has been chosen, all you have to do is enter its characteristics in the settings window. For example, if you have selected a block of text, you can define its format, its alignment, its style or even the text displayed.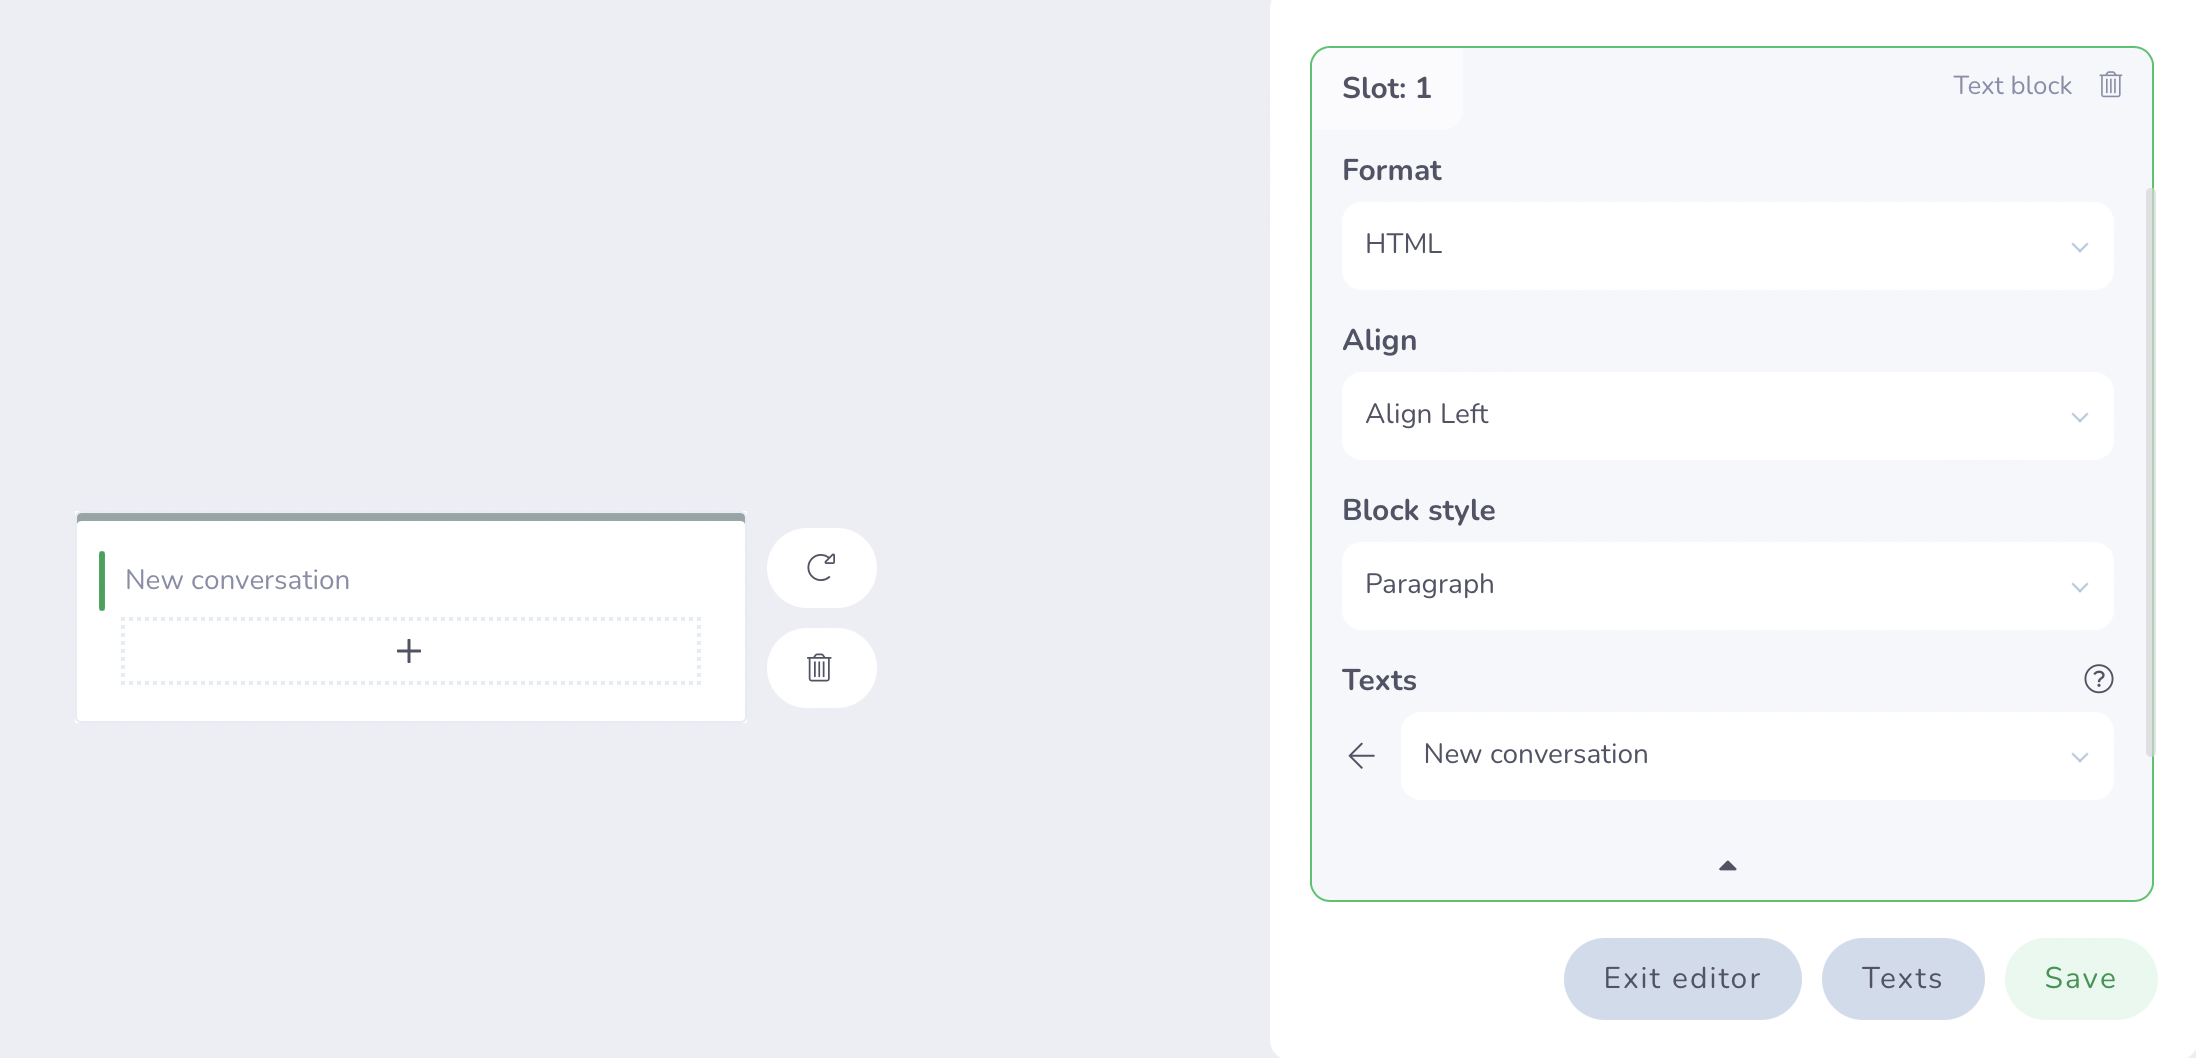
Once your card is complete, don't forget to save your work!
Congratulations, you've created a custom card for your home screen! You can now select it on your dashboard and display it to your contacts! 🚀
If you have any questions regarding the customization of the cards on the homepage, do not hesitate to contact us via our chatbox, we will be happy to speak with you! 😁


Everything about automated communication: How to create your chatbot, use conversation flows, and let the bot do all the work!